Painting Kitchen Cabinets The Right Way
Here at RollTheLex Painting, we paint anything. My go-to joke with customers is, "We'll paint the dog pink if your check clears."
It's funny and breaks the ice really well. While we paint "all the things," our specialty is painting kitchen cabinets.
When we first started refinishing cabinets six years ago, we sprayed the doors while brushing the frames. We have since transitioned to spraying the frames in place. It took a while to get our rhythm down, so let me share our process with you.
STEP 1: REMOVING THE DOORS AND PREPPING THE KITCHEN
You can think of this step like preparing a gourmet meal for your kids. You spend hours and hours preparing it, to have dinner devoured ferocsiously in seven minutes. Prepping is tedious, time-consuming, and most of the guys will say it's their least favorite part of the whole process.
I can't lie, I'm not the biggest fan of "prep time" either, but it's necessary to achieve the quality of finish we're known for.
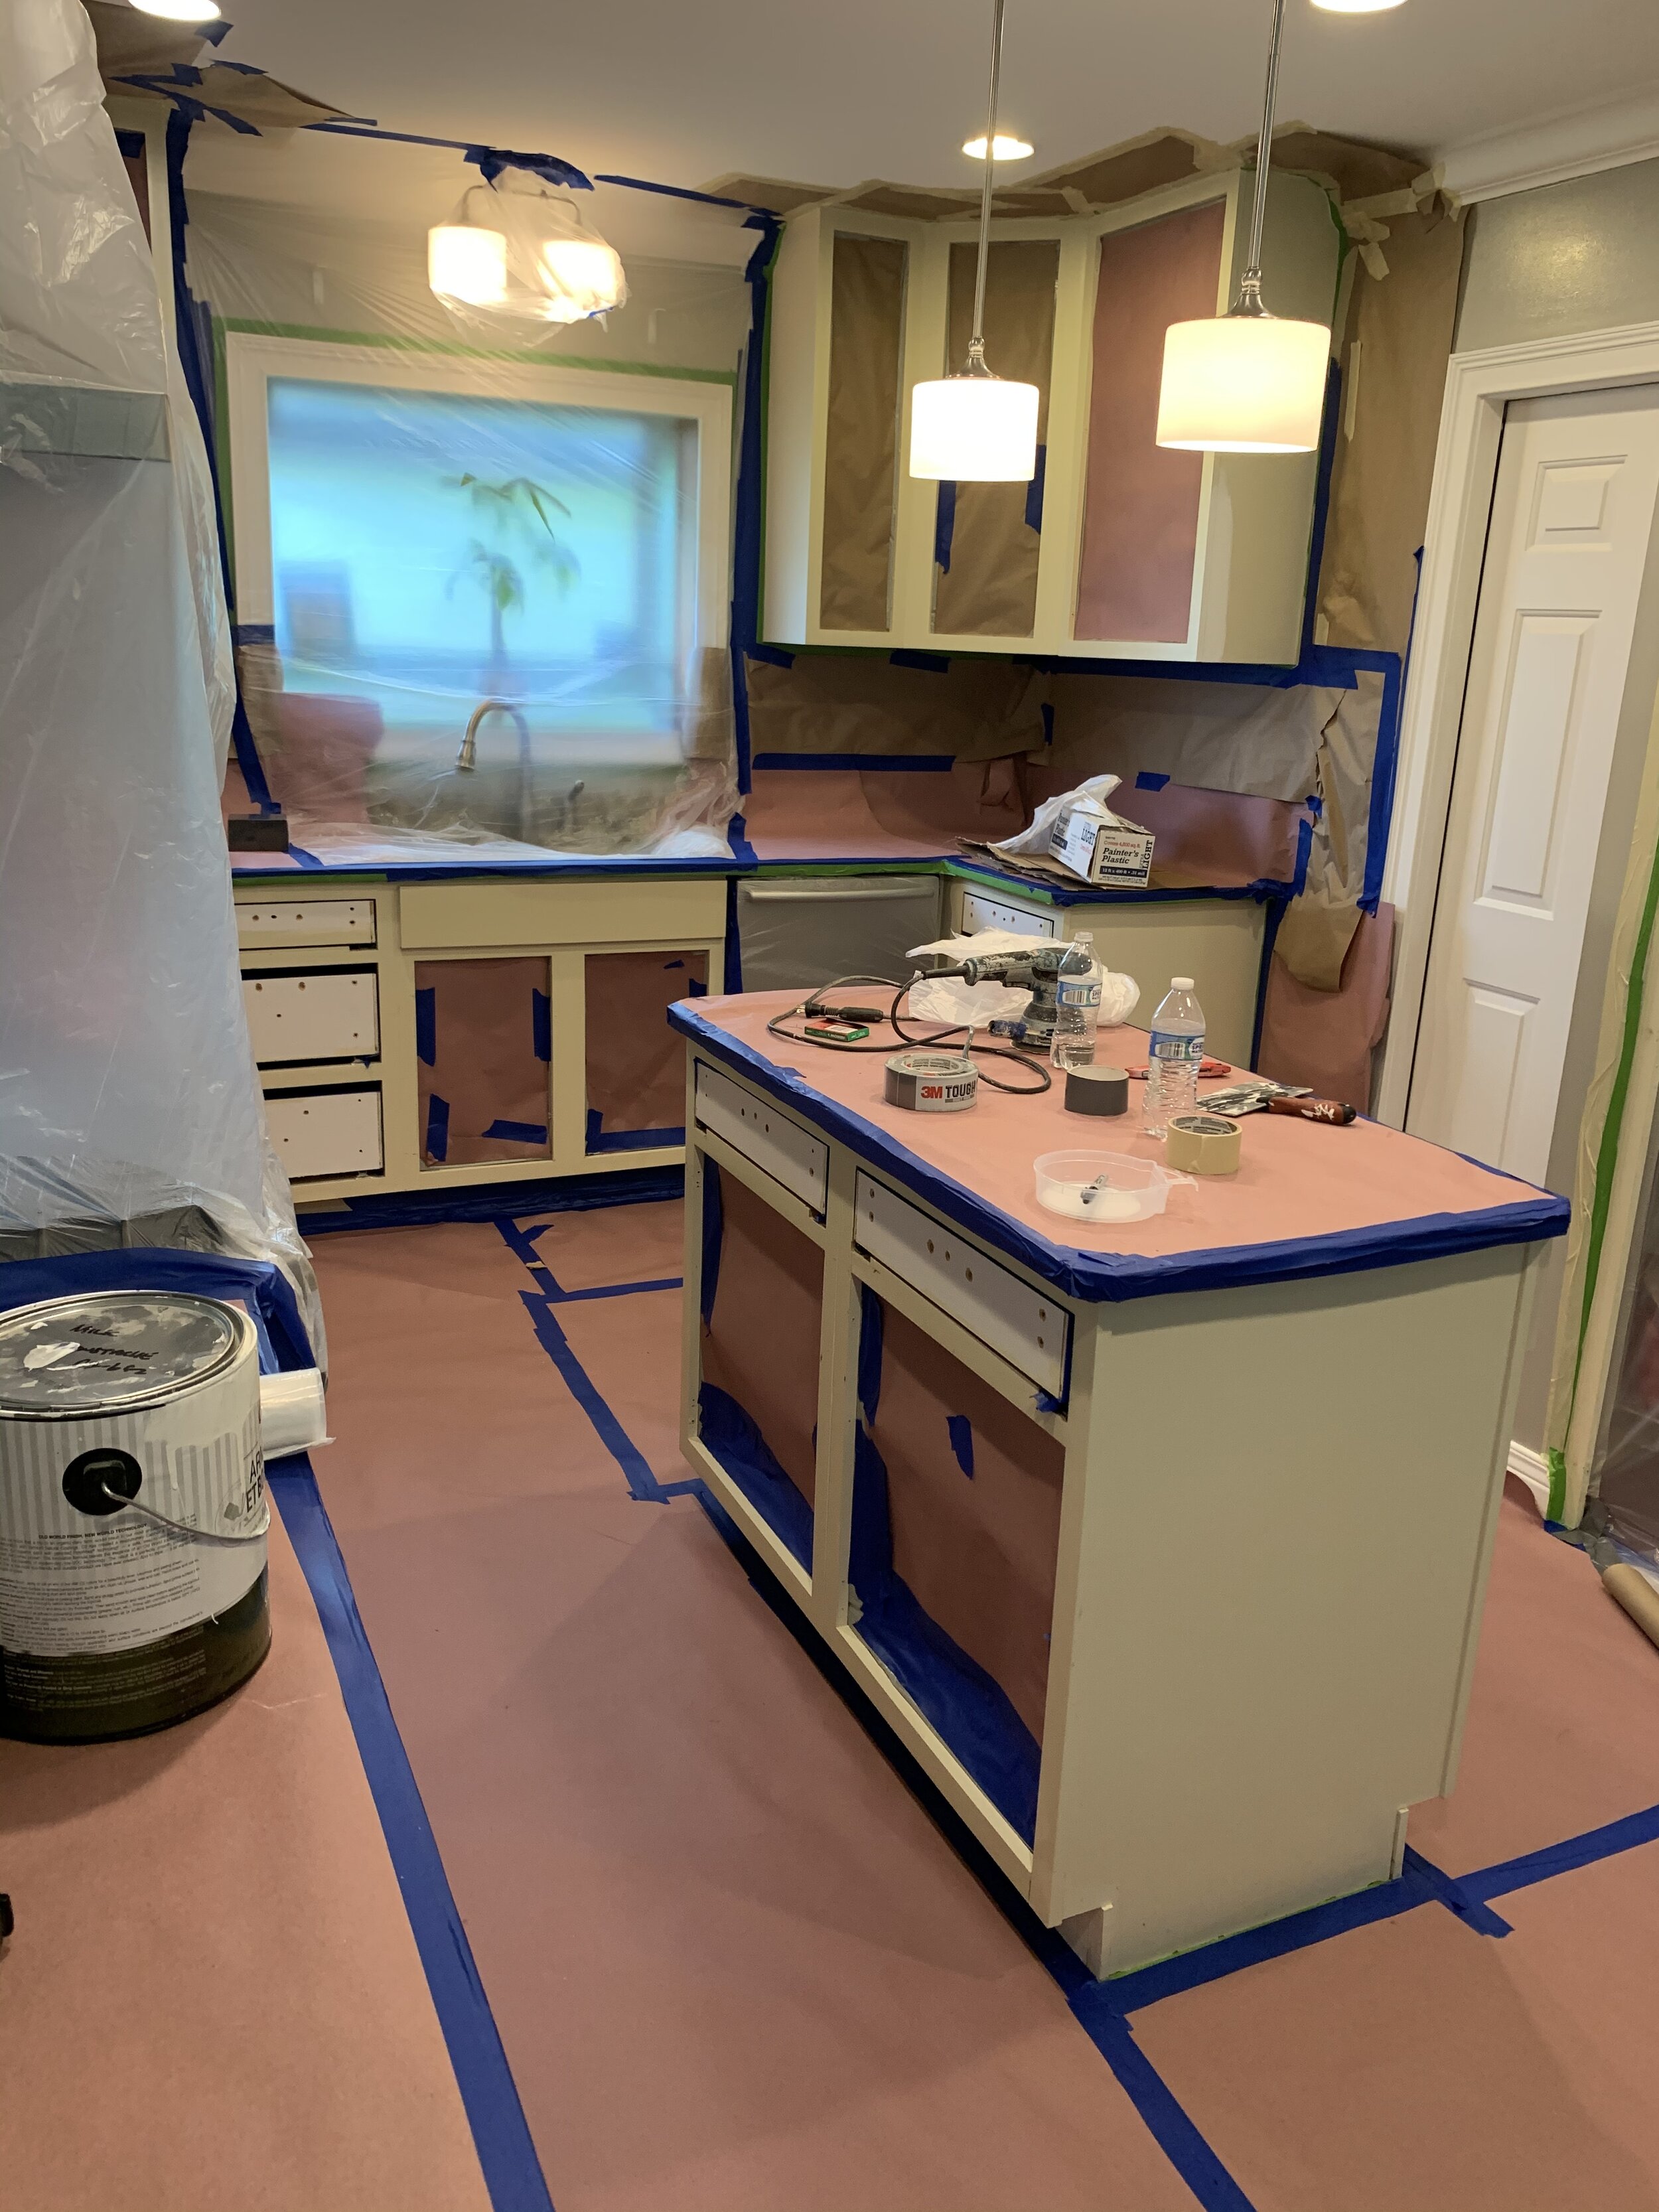
We mask off the backsplash, cover the countertops/floors, and mask off all the openings in the frames. We use different strengths of tape from 3M and FrogTape and plastic to cover the cabinet openings. We used paper for masking in the past, but it doesn't have much "give," so plastic ended up working better for us.We need the "give" in the plastic because of the air push of the sprayer.
We paint cabinets using airless spraying systems from Graco and Titan (390PC and 440i to be exact), so by "airless," it simply means the paint is pushed by a piston and not an air compressor. We can adjust the amount of pressure, but it will still create a wind force that can blow the paper off the openings. Plastic flaps in the wind like a flag, so this keeps the tape from pulling off the cabinets.
Step 2: Building the spray booth:
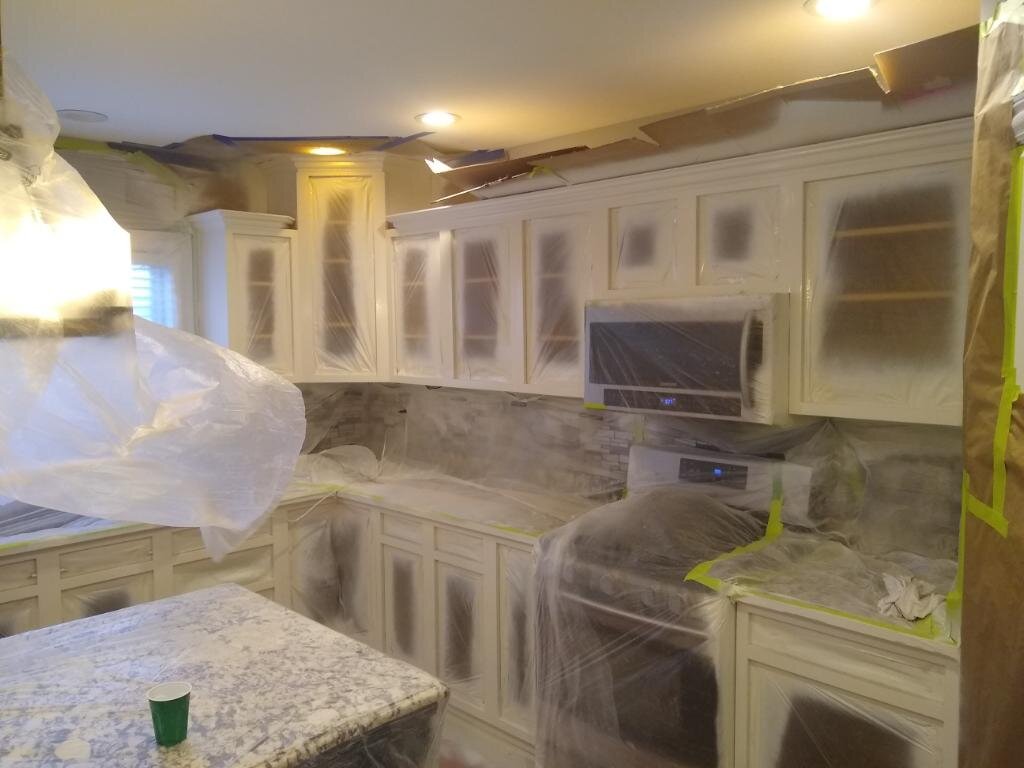
We build our portable spray booth using ZipPoles, which are spring-loaded and securely hold plastic in place. This lets us turn the kitchen into an airtight spray booth with this killer product. We use a fan with an air duct that's run outside while spraying, so you end up with virtually zero smell in the home.
After the booth is in place, we sand the frames with orbital sanders and then get ready to spray. Spraying typically happens around the end of the first or second day of the project. We can split between two crews, painting the doors in the shop and the frames at the job site. We find this is much more efficient since it gets pretty tight in a kitchen with more than one person painting.
THE “NITTY GRITTY” on PREP:
Our team cleans each of your doors with a degreaser, sands them with orbital sanders, and then each door is suspended on a hanger in our shop. We sand the flat surfaces with 180 to 220 grit sandpaper and then use flexible sponges to get any crevices.
(If you're not familiar with sandpaper grit, the lower the number, the rougher it will be. For example, we will start with 180 to remove the old finish and work up to a 220/300 to give it a nicer finish.)
We drill holes in the tops/bottoms of the doors to hang them in our booth to spray, but these holes never show in the finished product, and it's a significant space saver in our drying booth.
Step 3: Painting Your Cabinets
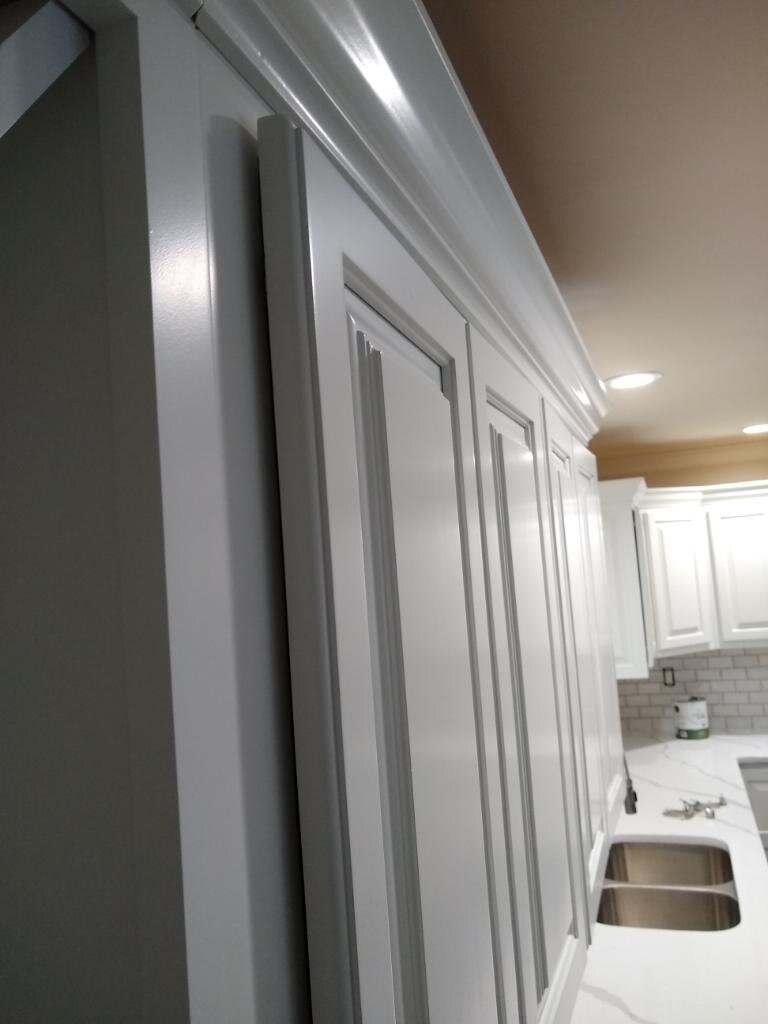
Once all the prep is completed, we spray a shellac-based primer followed by a topcoat with a urethane enamel. You may not be familiar with these terms, but the critical thing to know is that these dry super fast and hard. We use shellac because of its quick dry time, excellent bonding characteristics, and remarkable ability to cover stains.
Our topcoat paint is C2 Cabinet & Trim. It has a quick dry time, cures hard enough to be approved for floors, and we think provides a better than factory finish.
STEP 4: Reinstalling your refinished kitchen cabinets.

Day four is usually our reinstall day. We wrap the doors/drawer fronts in moving blankets from Harbor Freight. Don't laugh. They are inexpensive and soft, which keeps them from leaving prints on the newly finished doors. Reinstall takes approximately half a day. After hanging the doors and putting the hardware back on, we re-adjust everything to level it, and the project is completed.
This entire process takes us about 3-4 days, and the average cost in 2020 was $3300. New cabinets start at around $6000 and go up from there, so we are very excited to offer this service to customers in lieu of having their cabinets replaced.
It saves you money, time, and a lot of headache when you choose refinishing cabinets over replacing them.
We can also order new pulls or knobs if you really want to change up your look. Sometimes, the smallest changes can make the biggest difference.